Connect your tills with Qovah Cloud
Subscribe, sign your tills in, and get syncing, branches, nightly backups and a summary every morning.
- 1
Sign in to Qovah Cloud
In Settings › Account, sign in with your Qovah Cloud email and password, or make an account there. Confirm your email from the link we send; the daily summary goes only to confirmed emails.
- 2
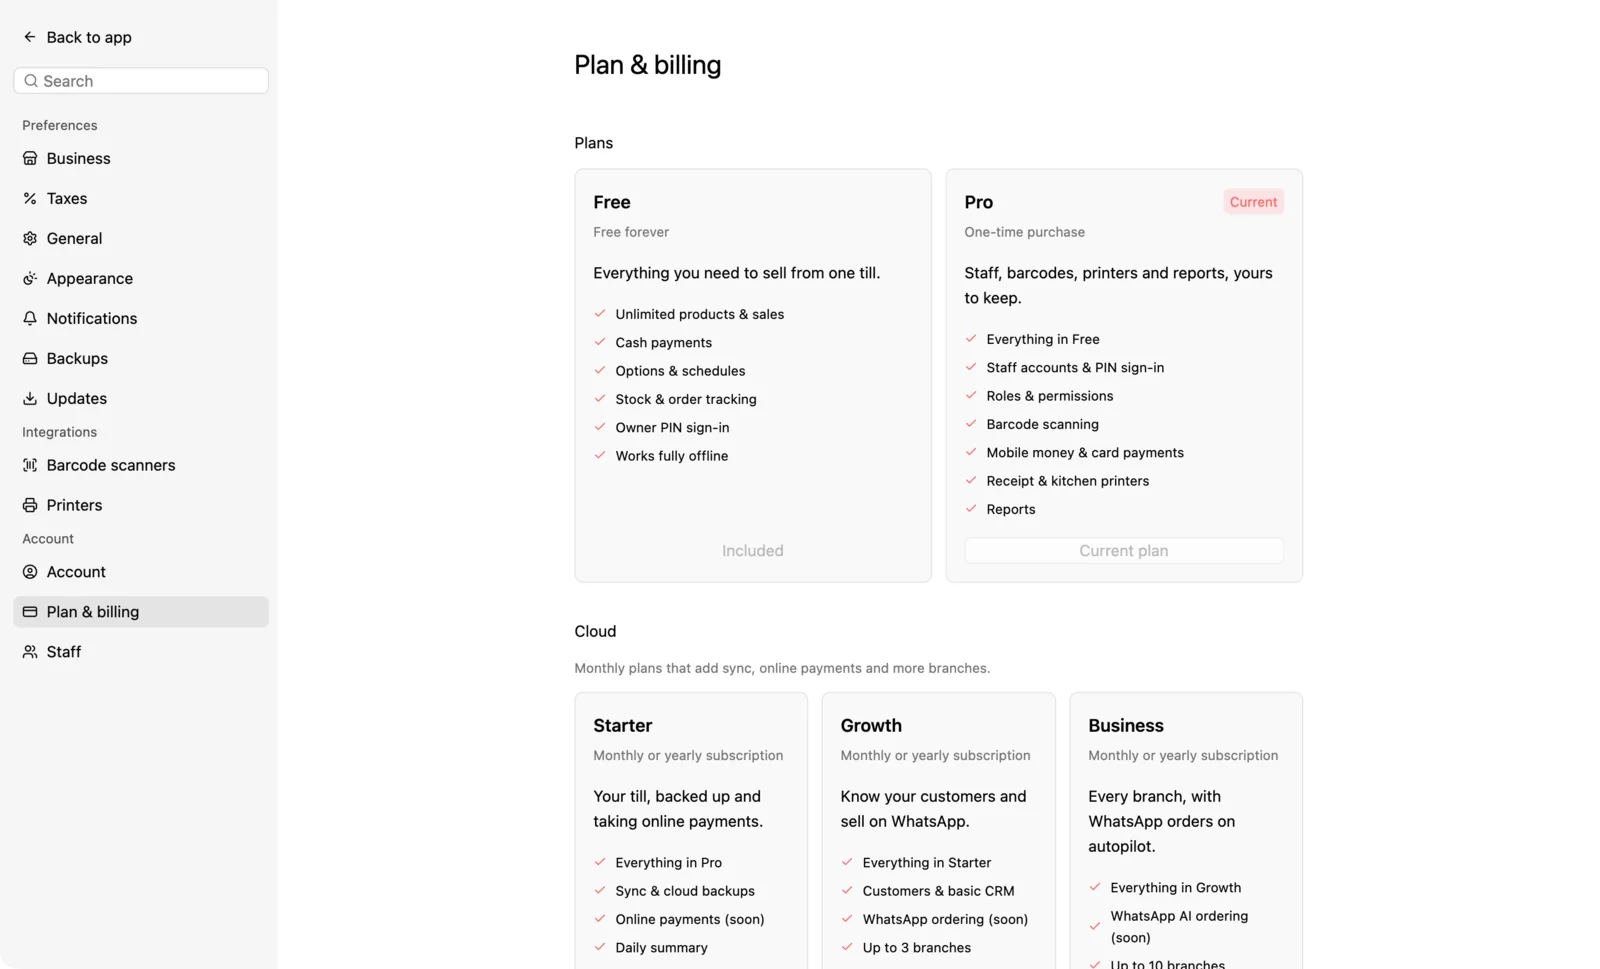
Choose a plan
In Settings › Plan & billing, pick Starter (GHS 179/month), Growth (GHS 379/month) or Business (GHS 899/month), monthly or yearly. A year costs 10 months. Paystack checkout opens in your browser; pay by card for automatic renewals. The plan switches on once payment is verified.
- 3
Sign in your other tills
On each other computer, sign in with the same owner's account and choose to join your business. That till backs up what it had, then takes the business's menu, staff, prices and sales.
- 4
Keep selling, online or not
Each till syncs every few seconds while it's online. Offline, it keeps selling and its changes go when the internet is back.
- 5
Add branches
In Settings › Business › Branches, add a branch and move tills into it. Branches share the menu, staff and promotions, and keep their own sales, cash-ups and stock. Starter includes 1 branch, Growth 3, and Business 10. Growth and Business can buy extra branches for GHS 99/month or GHS 990/year each, up to 20 branches in total.
- 6
Backups and the daily summary
Qovah Cloud backs up your whole business every night; restore one from Settings › Backups. Each morning, owners get yesterday's takings, best sellers and anything worth a look by email.